
The STUDIO SPACE Gallery Guide
The StudioSpace Gallery is one of the “Playroom” templates, available to anyone with a Premium or above subscription (information correct at the time of publication). It can be added to your metaverse via the website (MultiverseOnline.io), like any other template.
It is designed as a professional room template for artists wishing to exhibit their work. It exploits a feature known as “transparency” to allow artists to upload images of various sizes and shapes.
It also comes in a “Bespoke” version, where you can change the pattern on the walls, floor and ceiling panels.
Use this guide to learn how to create transparent images and get the most out of this great template.
“Bespoke” StudioSpace

The Bespoke Studio is an upgraded version of our popular StudioSpace Gallery, set up with full You Choose tech. This means you can customise the floor, walls, and even the ceiling panels.
Interior Design
For each element, you should always use a square image.
For the walls and floor, try to use a seamless (tileable) image to prevent unsightly joins.
For more info on seamless images and for some free downloads, check out our Bespoke Room Free Templates guide.
For the ceiling panel, the centre of your image will be obscured by the nightlight. Use the template to check which part of the image won’t be visible (the red circle).
For the skirting and window frames, these have not been mapped to display images. For best results, use a single block colour square.
You can customize each side of the free-standing wall panel individually.

Template for the ceiling panel, showing which areas of the image will be hidden and visible
Browser Buttons
The bespoke version of the gallery also has two browser buttons – see Browser Button tutorial for instructions on how to use them.
How to create a transparent image
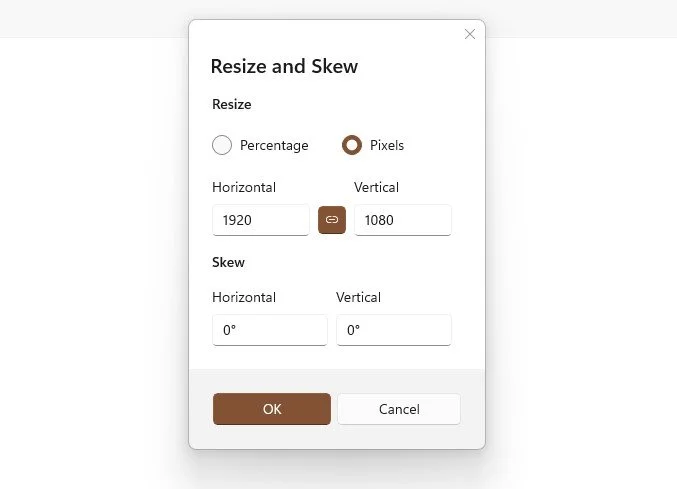
Step 1. Create an image
Create an image file in the size 1920x1080 pixels (or any other size in the ratio 16:9).
Step 2. Set the background
Set the background to “transparent”. It will probably appear as a grey/white chequered background.

Step 3. Paste your artwork
Copy your artwork into this file. Positioning it where you want within the available space.
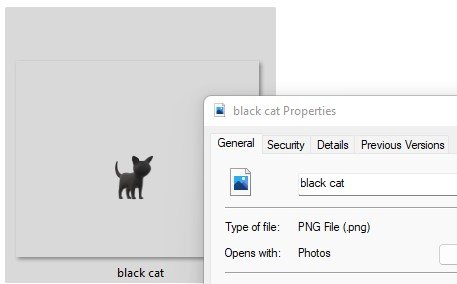
Step 4. Save as a PNG
Save the file as a .png. NOTE: other image formats (e.g. JPG) do not support transparency.
Step 5. Upload the file
Upload the file to the desired image slot at MultiverseOnline.io.
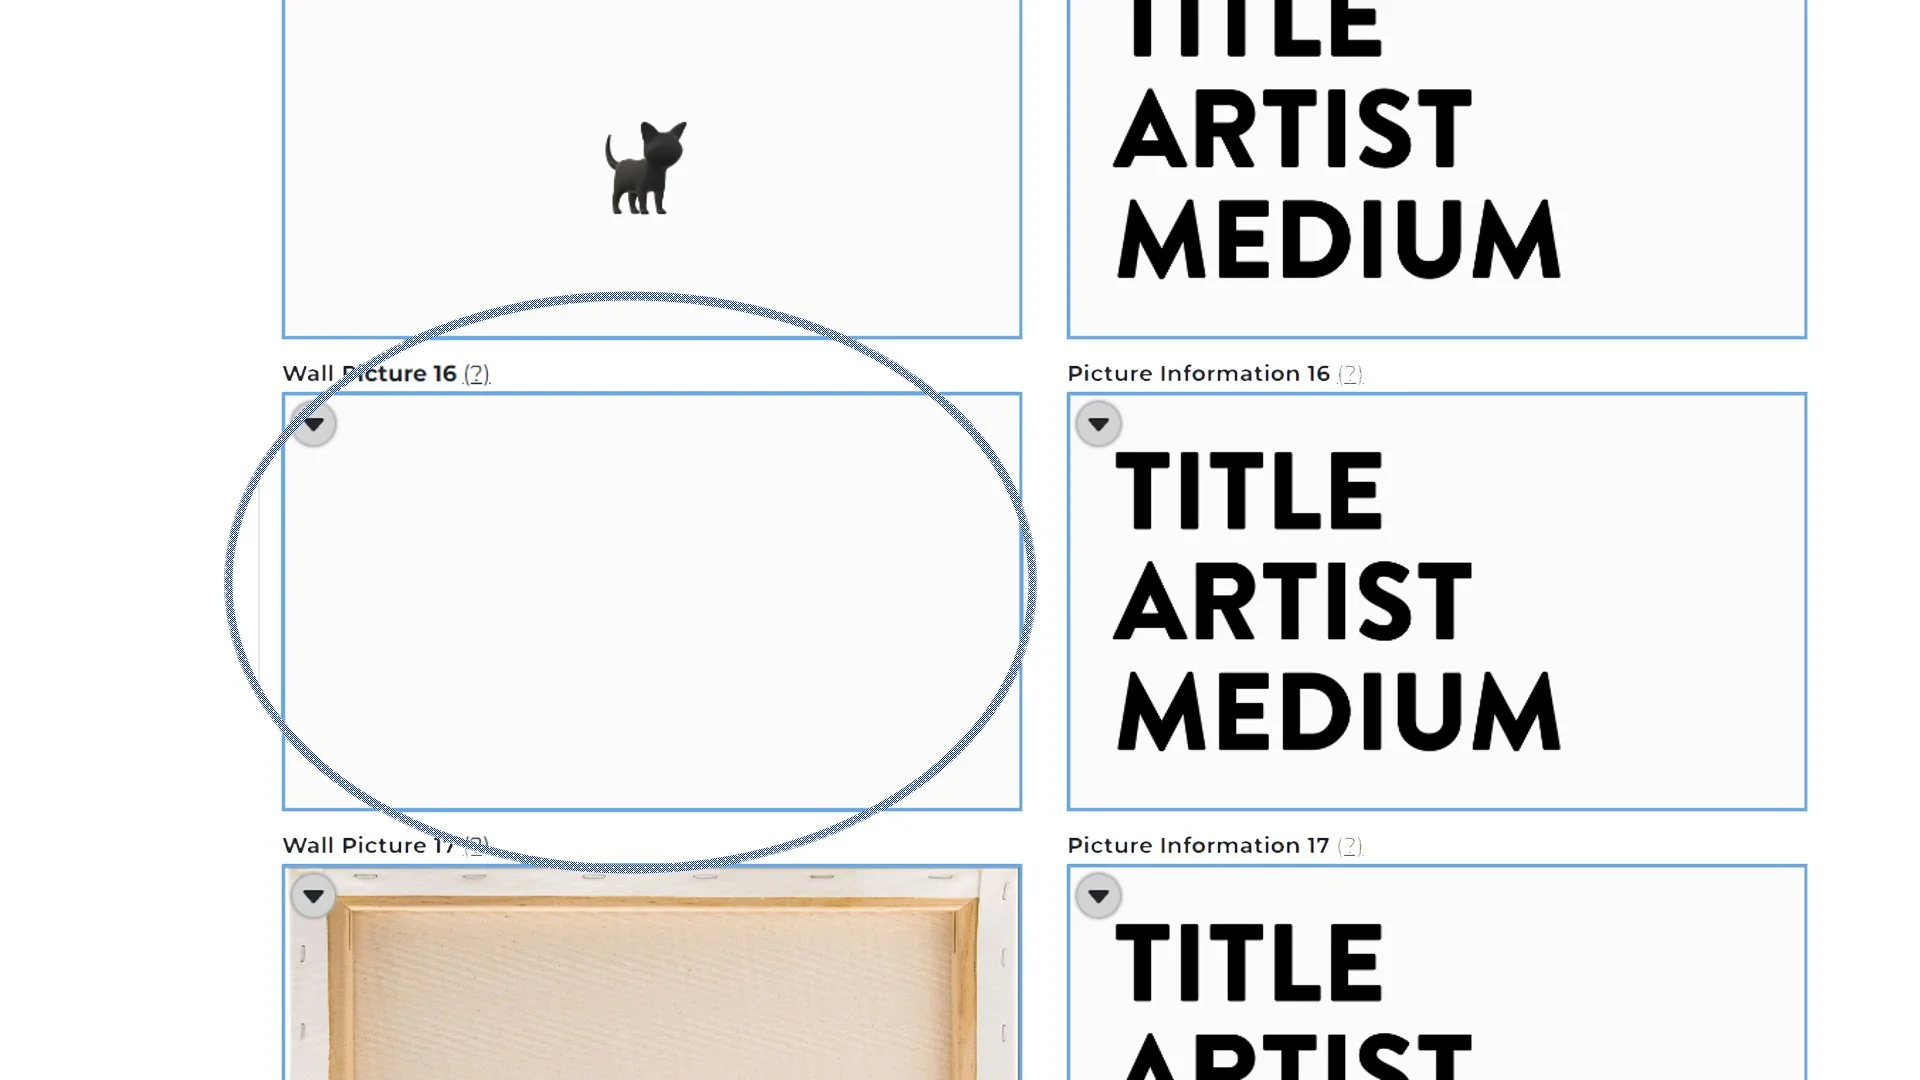
Step 6. Delete unwanted slots
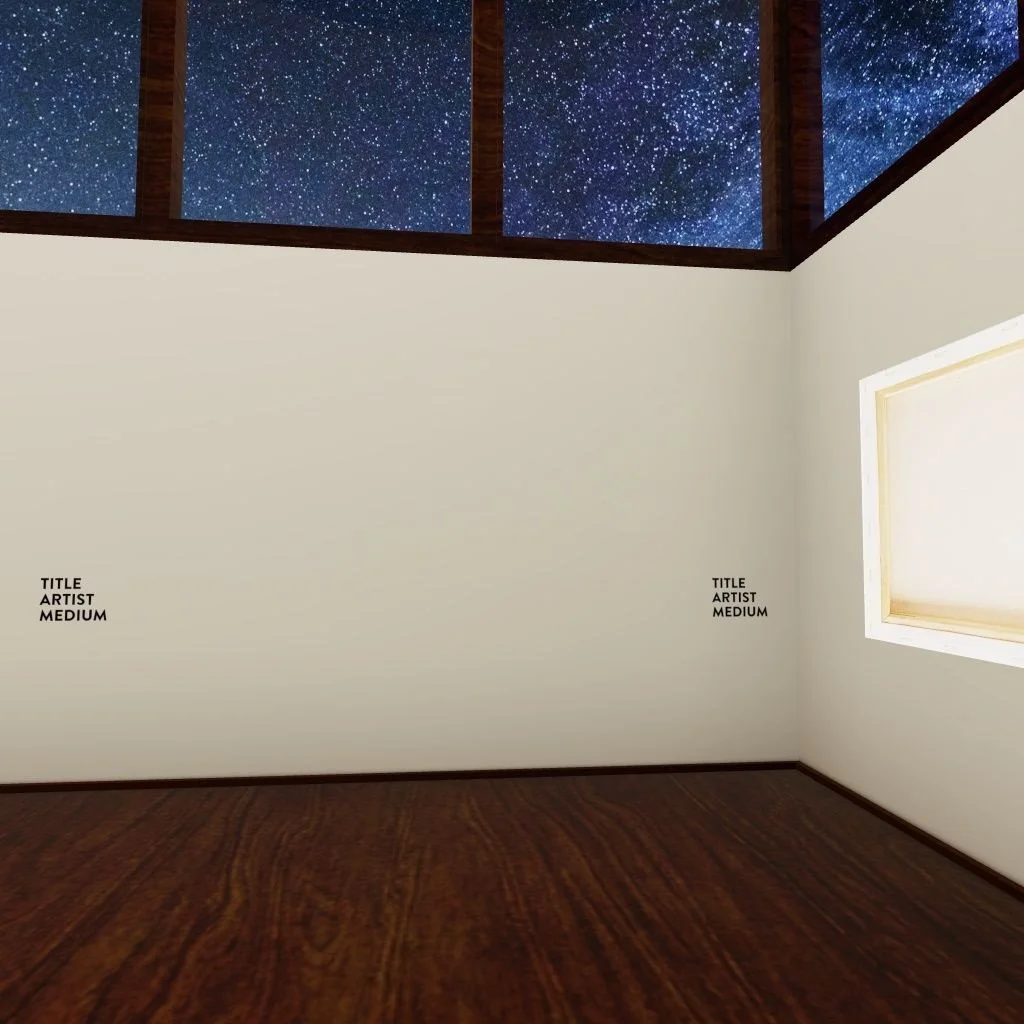
If you do not want to use a particular image slot, then upload an entirely transparent file.
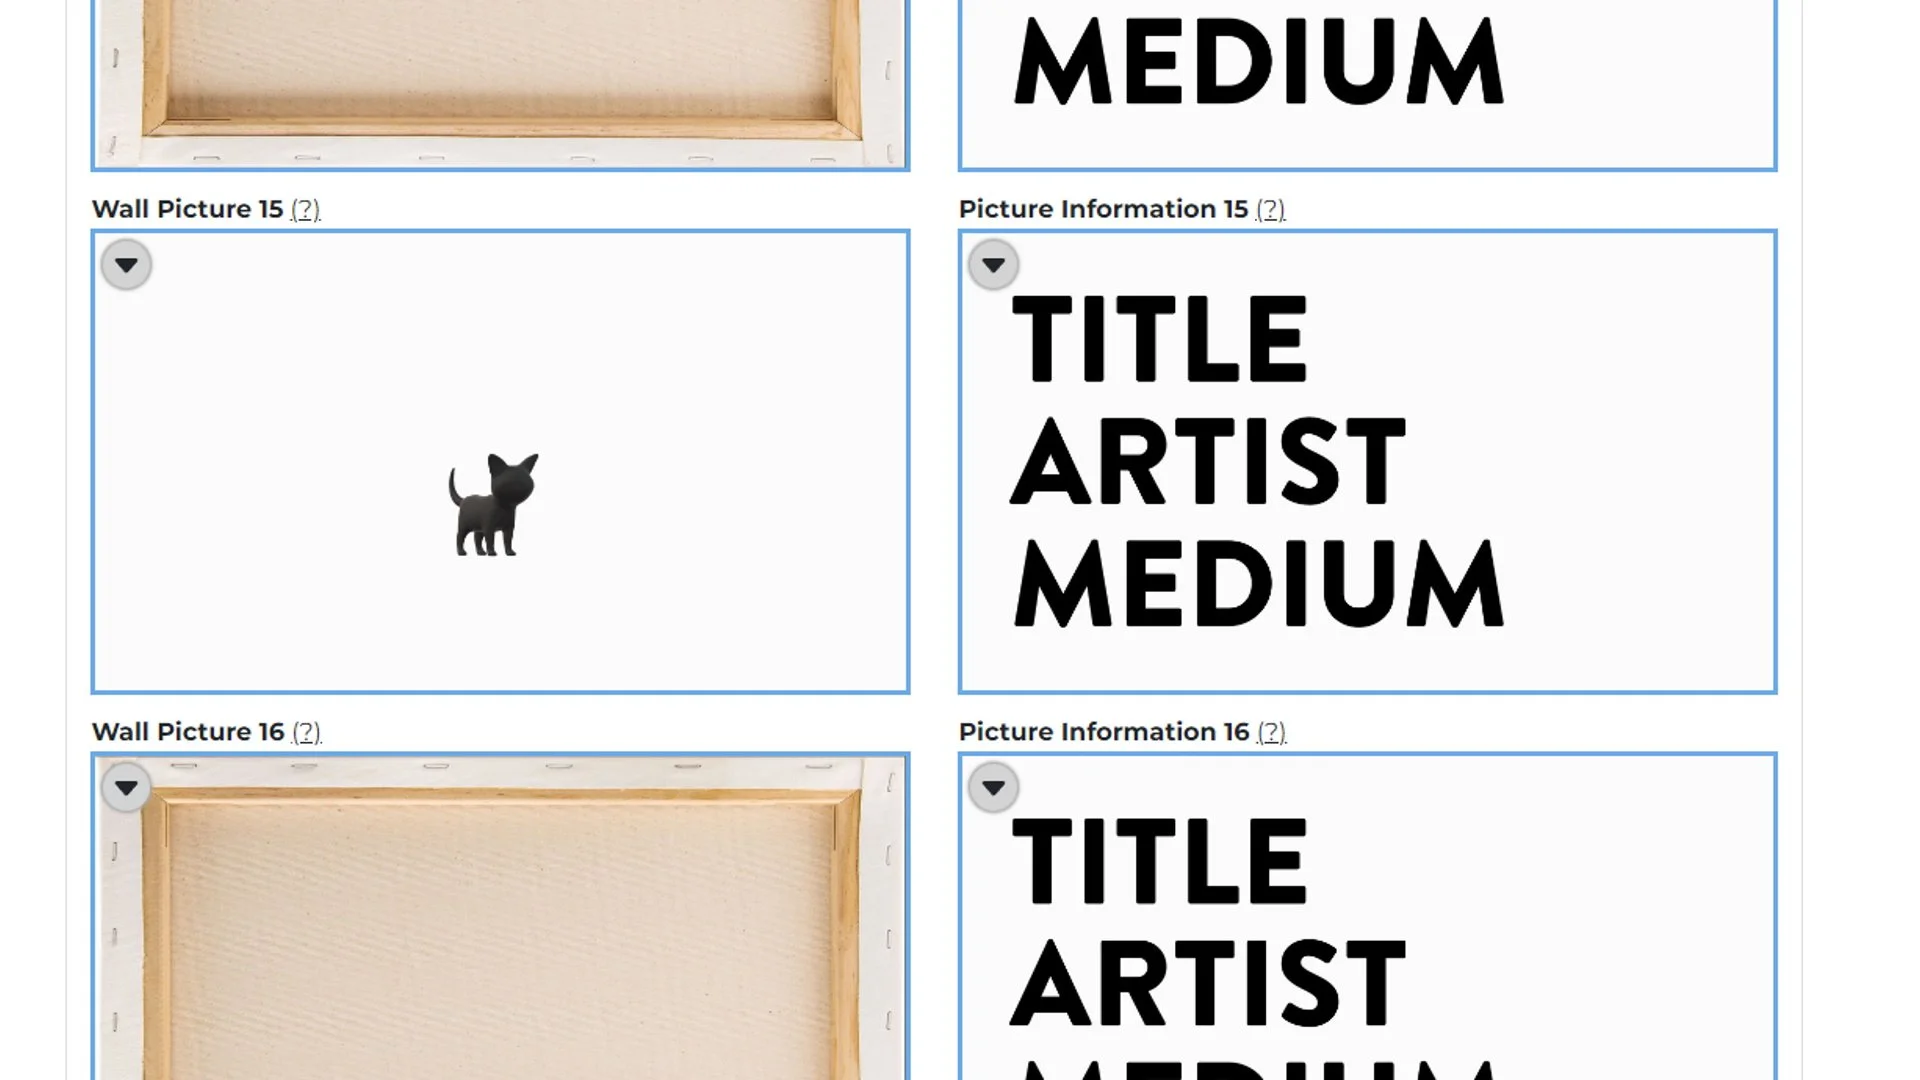
Step 6. Check in the room
This is how the image will look in the room.
Step 7. Check in the room
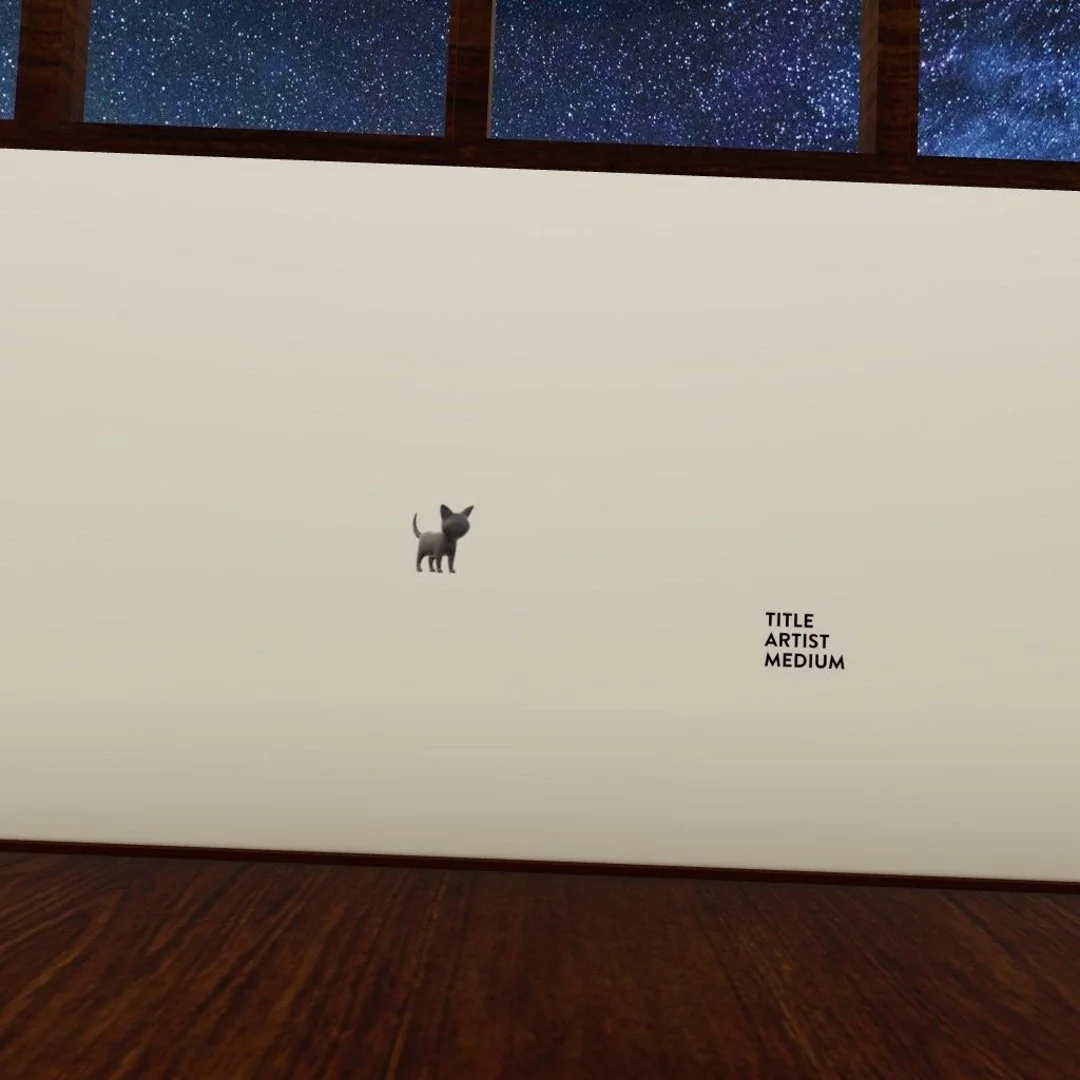
The wall appears empty.
Hints and tips
Make sure the file is saved in PNG format, as other image formats (e.g. JPG) do not support transparency.
This transparency only works with the images on the outer walls and their corresponding information panels. It does not work with images on the freestanding wall, or the freestanding information podiums.
The StudioSpace template has been used for the James Webb Gallery (access through the Planetarium), and is also on display in the Playrooms area (access from Grand Central), where you can see examples of this transparency in use.
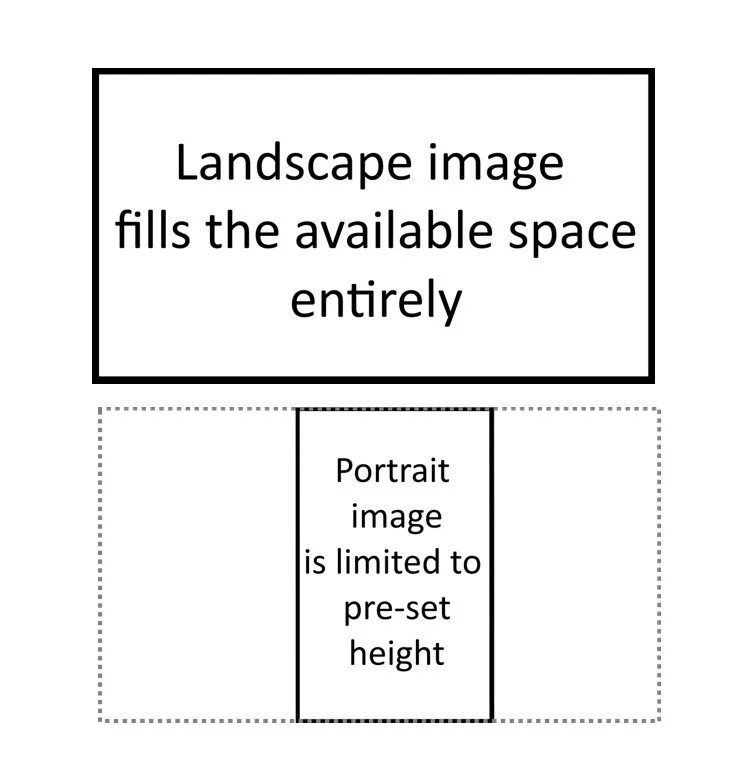
The image will never be larger than the maximum pre-set frame size. Therefore, a landscape image (ratio 16:9) will fill the frame entirely, but if you rotate that same image into a portrait orientation, it will not fill the frame but be limited to the maximum pre-set height:

Last updated: July 2, 2025